
JUMPING CASTLE

SAFETY RULES
- Children must be supervised at all times.
- No shoes, sharp objects, food, drinks, pets, or silly string allowed inside.
- Do not exceed the number of children or weight limit specified.
- Only allow same-sized children to jump together.
- Do not use the castle in rain or strong wind (over 25 km/h).
- Keep the castle away from walls, fences, trees, or power lines.
- Do not allow climbing on walls, netting, or roof of the castle.
- If the unit starts to deflate, evacuate immediately and check power or blower.
OPERATION GUIDELINES
- Ages 3–7: Max 6–8 small children
- Ages 8–12: Max 4-6 medium children
- Teens/adults: Only if castle is rated for adult use
- Allow turns by age or size group to prevent injury.
- One adult should remain near the entrance at all times.
- Do not allow pushing, wrestling, flips, or somersaults inside.
1. Place the castle on a flat, clean surface with at least 1 meter clearance on all sides.
2. Remove sharp objects or debris from the area.
3. Unroll and position the castle facing the right direction.
4. Attach the blower tube securely to the fan/blower.
5. Plug the blower into a dedicated power outlet (220–240V).
6. Turn on the blower—castle will inflate within 1–2 minutes.
7. Ensure all zippers and vents are closed.
8. After use: Switch off the blower and unplug from power.
9. Allow the castle to deflate fully (2-5 minutes).
10. If required, fold and roll the unit as it was delivered.
11. Ensure the unit is dry before packing - wet returns may incur cleaning fees.
CANDYFLOSS MACHINE
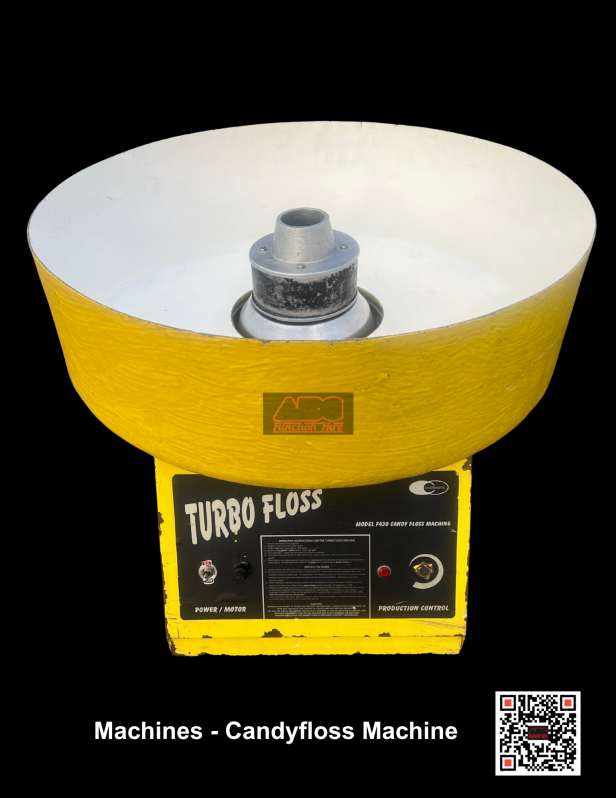
Ingredients: ±35- 40 servings
- 2.5kg White sugar
- 40ml food colouring (½ to full as required for desired colour)
- Put on a glove or use a plastic utensil to mix the colourant or flavouring into the white sugar thoroughly.
- Once mixed, switch on the candyfloss machine and allow it to heat for 3–5 minutes.
- Carefully spoon the mixture into the machine’s barrel, please ensure the barrel is completely filled.
- Switch the rotation setting to “ON.”
- Use a plastic stick to collect the candyfloss by moving it in the opposite direction of the machine’s spin.
POPCORN MACHINE
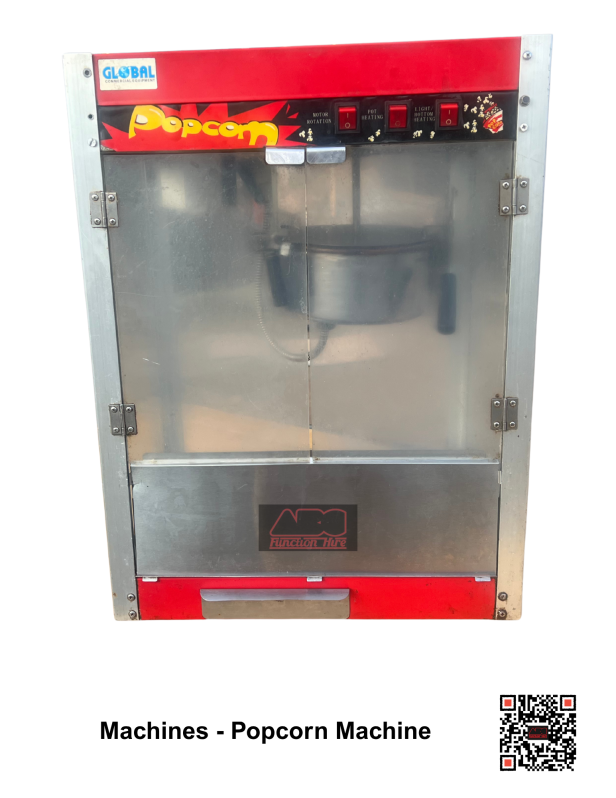
Ingredients: ±16-20 Servings
- 1Kg Popcorn kernels
- Oil (as required)
- Seasonings
- Place popcorn kernels/seeds into a bucket or container and mix with oil until evenly coated (not soaked).
- Preheat the popcorn machine or switch on the pot.
- Add one full scoop of the coated kernels/seeds into the pot.
- Close the lid and allow the popcorn to pop until it overflows.
SLUSH MACHINE

Ingredients: ±30 Servings per Barrel
- 8L Water
- Slushy Mixture
- Use 8 litres of water per packet of mixture.
- Combine the water and mixture in a bucket or large container.
- Stir well with a spoon until completely dissolved.
- Pour the prepared mixture into separate barrels per flavour.
- Switch the machine ON (do not adjust any dials/settings).
- Allow machine to run for 45 minutes to 1 hour until slush is ready. (Timing may vary depending on electricity supply.)
PATIO HEATER
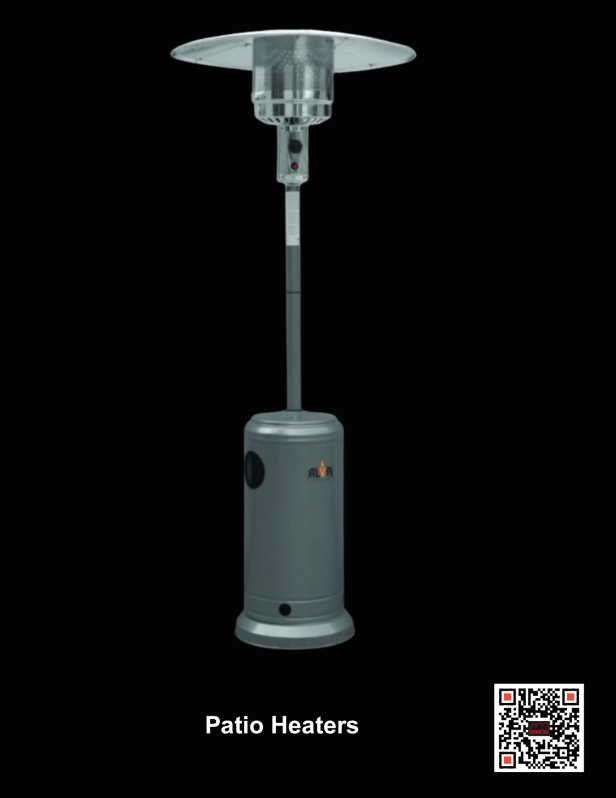
1. Place the heater on a flat, stable, non-combustible surface.
2. Ensure there is at least 1 meter (3 feet) of clearance from any walls or objects.
3. Make sure the heater control knob is in the "OFF" position.
4. Securely connect the gas regulator to the LP (propane) gas bottle.
5. Open the gas valve slowly by turning the gas bottle knob counter-clockwise.
6. Press in and turn the control knob to the "Pilot" position.
7. While holding in the knob, press the igniter button (click several times if needed).
8. Look through the viewing window to check for a blue pilot flame.
9. Keep holding the knob in the "Pilot" position for 30 seconds to allow the thermocouple to warm up.
10. Release the knob and turn to "High" or "Low" to adjust the heat.
11. To turn off, rotate the control knob to the "OFF" position.
12. Close the gas bottle valve by turning it clockwise until fully shut.
13. Allow the heater to cool completely before covering or storing.
14. Disconnect the gas cylinder if storing for a long period.
15. Use a weatherproof cover if the heater will be left outside.
SAFETY PRECAUTIONS:
-
Use the heater outdoors only in a well-ventilated area.
- Keep away from flammable materials such as curtains, decorations, or dry grass.
- Do not use the heater in rain or strong wind.
- Keep children and pets at a safe distance.
SPIT BRAAI MACHINE
- Place the spit braai on a flat, open surface, away from any flammable materials.
- Securely connect the gas bottle to the regulator and hose (if gas-operated).
- Ensure the drip tray is correctly positioned to catch fat drippings.
- Prepare the meat by seasoning or marinating, then skewer it tightly onto the spit rod.
- Secure the meat firmly using prongs or clamps at each end.
- Plug in or switch on the rotisserie motor and confirm the spit rotates smoothly.
- Light the burners using a lighter on the necessary burner plates as required.
- Keep the lid closed as much as possible to retain heat.
- Monitor the rotation and periodically check the meat’s internal temperature.
- Turn off the gas supply and disconnect the gas bottle.
- Allow the machine to cool completely before cleaning.
- Clean the spit rod, clamps, and drip tray thoroughly with warm, soapy water.
SAFETY TIPS
- Set up the spit braai on a stable, level surface to prevent tipping.
- Keep the machine at least 1 meter away from flammable objects, structures, or overhanging branches.
- Never leave the spit braai unattended while it is operating.
- Check all gas connections for leaks using soapy water - bubbles indicate a leak.
- Do not smoke or use open flames near the gas bottle when connecting or disconnecting.
- Keep a fire extinguisher or bucket of sand/water nearby for emergencies.
- Use heat-resistant gloves when handling hot parts or adjusting the spit.
- Always turn off the gas supply before disconnecting the gas bottle.
- Allow the spit braai to cool completely before cleaning or storing.
- Keep children and pets away from the operating spit braai at all times.
- Avoid wearing loose clothing that could catch fire.
PLEASE NOTE!!
ABC Function Hire provides equipment in good working condition. However, all equipment is used at the customer’s own risk. We do not accept any liability for injury,loss, or damage arising from improper use, negligence, or failure to follow the provided instructions and safety guidelines.
Customers are fully responsible for the safe and correct operation of all hired machines and must ensure that:
- Equipment is unplugged or turned off after use.
- Machines are stored safely and securely when not in use.
- Outdoor machines must be brought indoors or protected during bad weather conditions (e.g. rain, wind, or excessive heat).
- All equipment must be stored in a dry, secure location where it will not be exposed to damage, moisture, or theft.
Failure to follow these guidelines may result in additional charges or the forfeiture of your deposit.
By accepting the equipment, the customer agrees to these terms and acknowledges responsibility for the care and safe use of the items provided.